|
Windows 2000/XP/Vista/Win 7 |
  
|
|
Windows 2000/XP/Vista/Win 7 |
|
When planning on a Network Installation, you need to install ezHealthWare software on the "primary computer" or "server" first. This allows for the creation of the database in the proper folder (typically the default location of "C:\ezHW_Data"). After you have created the patient database, you can proceed to the next steps of building your network: Sharing the Database Folder and Mapping the Network Folder. After completing these steps you can finish by Installing on all the Secondary Computers.
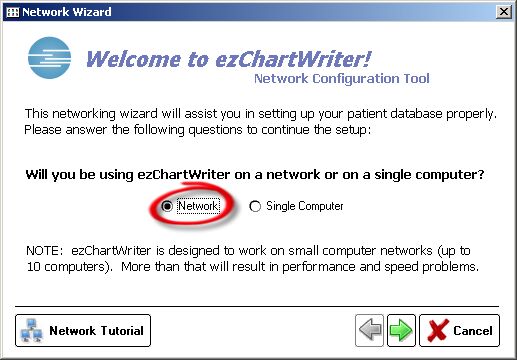
When you first run the software, the Network Wizard will appear. Be sure to check the Network option and proceed with the wizard.
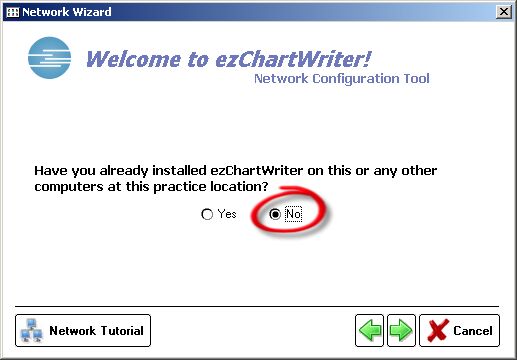
On the next screen, you will indicate that this is a first-time installation so that a brand new database is created.
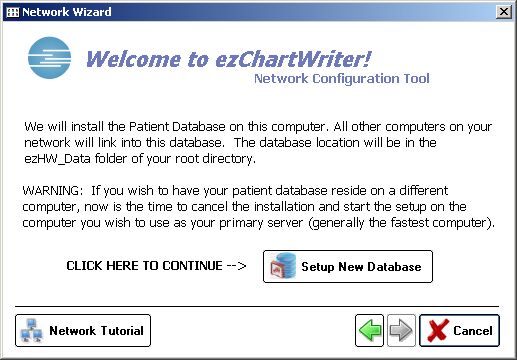
Simply click the "Setup New Database" button. We ALWAYS recommend leaving the default database folder location.
Once your new database is created, you can continue building the network by Sharing the Database Folder.