|
Special Features |
  
|
|
Special Features |
|
Below is a list of Special Features and other tips that can be useful:
Create a Recurring Event (such as Lunch Hour or Half-Day)
(1) Open the screen to Week view
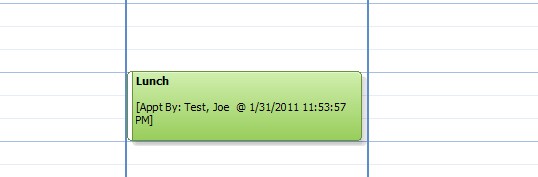
(2) Double-click the time slot to open the Appointment screen.
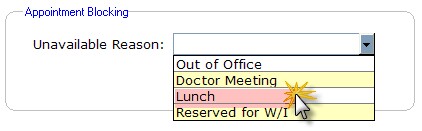
(3) In the Appointment Blocking section, select the Unavailable Reason.
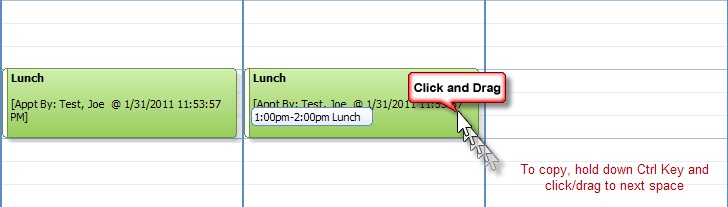
(4) Enter the start and end times (or alternatively, expand the appointment with the mouse directly on the calendar)
(5) Hold down the Ctrl key and click the appointment, then drag to the next space over.
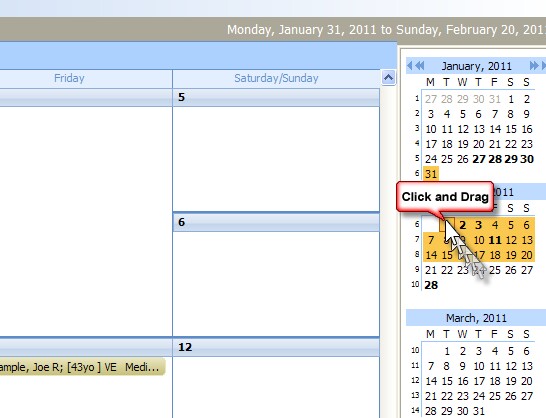
Selecting a Range of Dates to view
Using the calendar on the right side of the screen, you can select a range of dates to view (beyond the standard 5, 7 or 30 day views). For example, to view a two week period simply click on the first date, and while continuing to hold down the mouse drag over to the second date:
The corresponding days will show in the main calendar view.
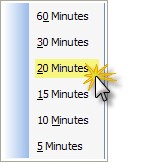
Quickly Changing the Timescale
Right-click the timescale and choose the minute increment you desire.
Copying Multiple Appointments at once
Click the first appointment, then hold down the Ctrl key and click additional appointments. When done, right-click the last appointment and choose Cut. Then move to the spot where you wish the appointments to be and click Paste.
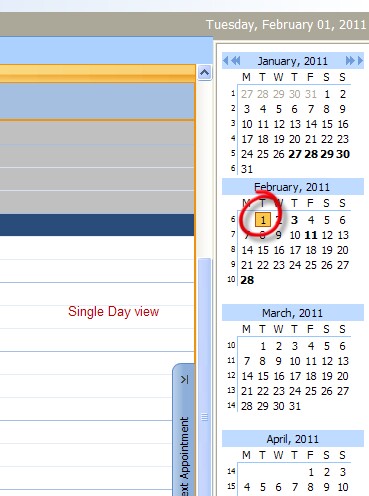
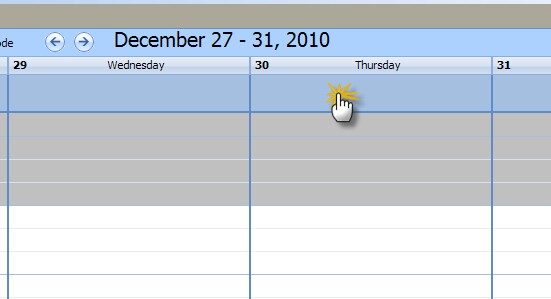
Switch to Day View Quickly
In the Week View, click the box right below the date heading. In Month View, double click any day on the calendar.
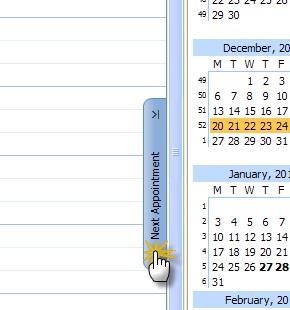
Jump to Next Appointment Day
Occasionally you will see the Previous and Next Appointment sidebars appear. They only display when you are on a day (or date range) where no appointments are present. By clicking the Next Appointment tab, you will be transported to the next day in which an appointment is present.
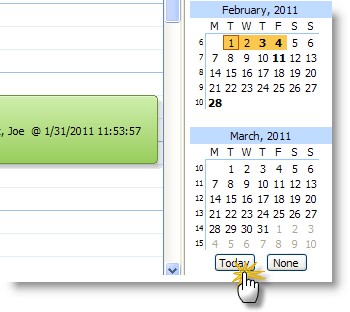
Jump to Today
You can jump to a view of Today's appointments by clicking the Today button on the lower right corner of the screen.
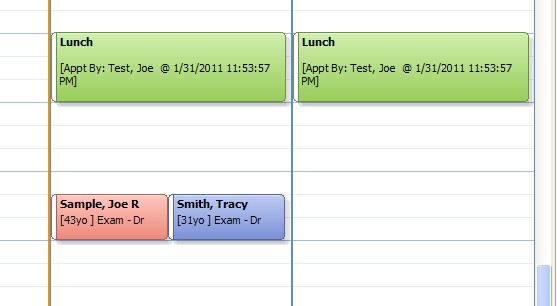
Using the Calendar with Multiple Providers
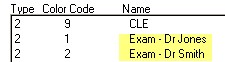
The scheduler is limited to a single provider. However you can have multiple doctor appointments display by using color coding. To do this you need to set up specific exam codes in the Appointment Types settings. For instance, Doctor Smith would have a exam category of "Exam - Smith" colored blue. Dr Jones would have "Exam - Jones" colored red.
The appointments can be double-booked in the same time slot. Use the mouse to click and drag appointments to the appropriate time. Note that by default the calendar displays the earliest appointment on the left-hand side.