|
Report Designer |
  
|
|
Report Designer |
|
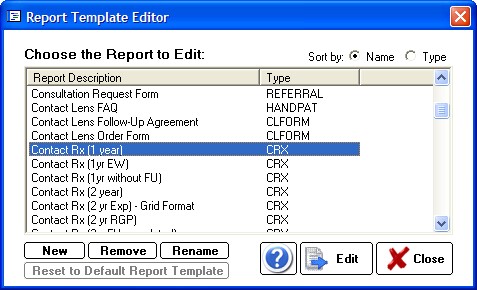
The Report Designer allows creation and editing of the various reports and Rx formats available in ezChartWriter. When the report template screen finishes loading, you will notice that the reports are listed alphabetically by name and that each has a specific category name associated with the report. You can easily switch between an alphabetized listing of report name or by category by clicking on the heading bar.
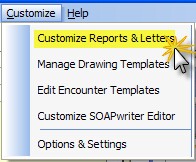
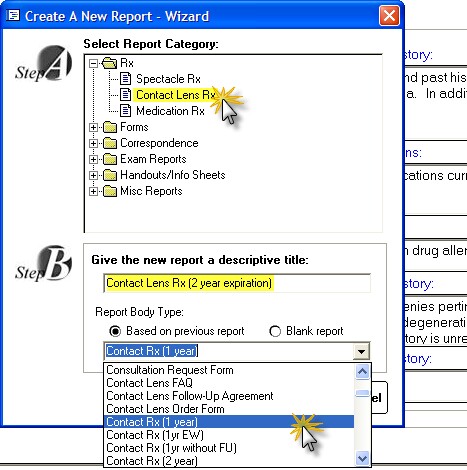
To edit an existing report, click on the name and then click the Edit button (or, alternatively, just double-click the report name). To create a new report click the New button and a dialog will appear to guide you through creating a new report:
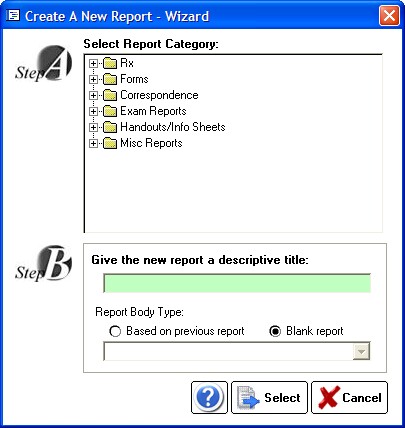
Step A: Select an appropriate category for the report. If the report does not easily fit one of the pre-defined categories, use the Misc. Reports category.
Step B: Give the report a unique and descriptive name (for example, “Letter to Patient-Importance of Diabetic Control”). You may also indicate whether this report will be based on a prior report format or blank report. Even if you choose a blank report, you can easily copy and paste data from your favorite word processing program.
When the report, whether new or editing an existing report, opens, you will be in the Report Designer mode. The Designer looks and acts just like the regular report viewer with just a few important differences. The first difference is that the data you are working on is a Template from which your other reports are built. As such, the Template needs to be told what data to display.
There are three types of data you can insert into your template:
Static Text
This is text that does not change and will be included in every report of that type. Examples include headings and labels such as “Date of Exam:” and “Report of Findings:”. You create static text by simply typing text in the Designer just like a work processor.
Dynamic Text (aka Fields)
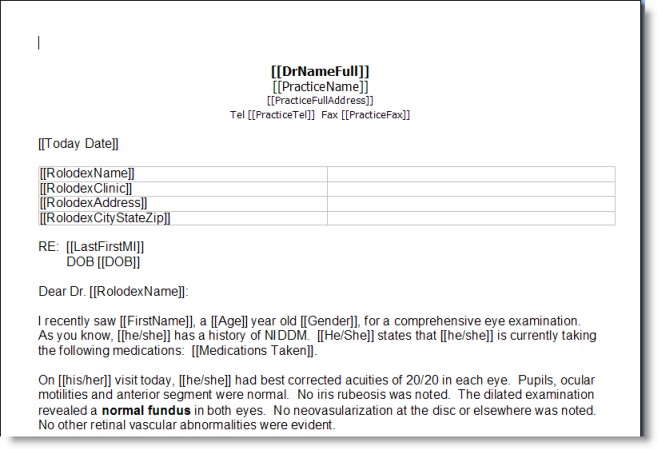
These are special codes embedded in your report document that tells ezChartWriter to insert text appropriate to, for example, a particular patient or provider, each Field has a specific format and looks like this:
Dear [[Name Title]][[Last Name]]:
The word “Dear” and the semi-colon “:” are static text. However, the double-bracketed fields indicate placeholders for data to be inserted, in this case the patients salutation (for example, Mr. or Mrs.) and last name. Using the list of pre-defined Fields, it is possible to generate grammatically correct and fully personalized letters, handouts and miscellaneous reports. Using even more specialized Fields such as [[MedRx]] you can create Rx’s for your patients. Many sample templates for various reports, Rx’s and letters have been created for you. Simply copy the old report to the new and edit the text and Fields as needed.
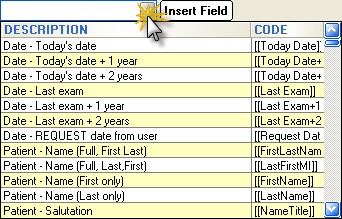
Inserting Fields can be done using the dropdown list at the top of the Report Designer. A full list of available fields are listed below.
Images
In addition addition to static text and FIELDS, you may also insert static images in your documents. These may be logos or signature blocks or any other image you desire.

WARNING: Images consume lots of disc space and if you embed a large image in a report, then each and every report you save will have a copy of that image saved to the database. It is recommended that you limit embedded images to small (under 10K) size. Examples would be a signature block. Typically, images that are embedded should be in “.jpg” or similar format, since they are highly compressed.
To modify the properties of an image, right-click the image to pull up the Image Attributes dialog:
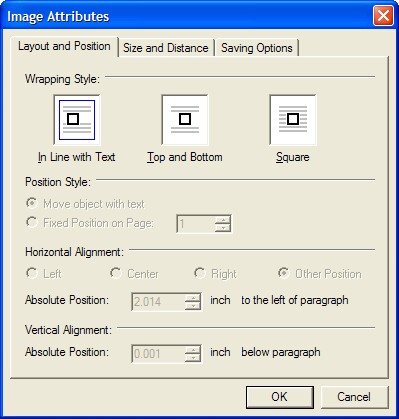
When saving the image there are three ways of doing so:
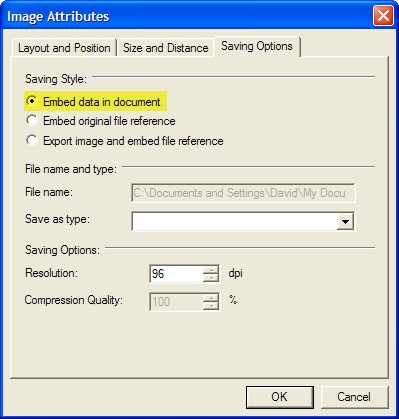
Embed data in document
This is the simplest way, but can quickly fill up your report database. Only use very small, low resolution images with this method. To convert and resize your image, use a product like SnagIt (www.techsmith.com) to reduce the resolution. If you embed too large an image you will receive a warning when attempting to save.
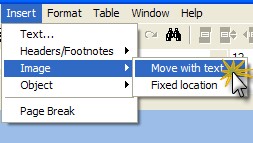
Embed original file reference
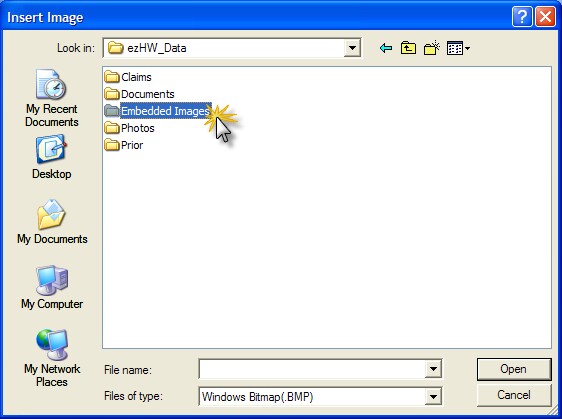
This is the best way to incorporate larger image files; the image is save seperately from the document and is displayed only when you open the document. The drawback is that the image must be stored in the database folder on the network. So create a subfolder in the C:\ezHW_Data folder called "Embedded Images" and then add your images to that folder (for instance signature stamps or practice logo). To insert the image, click the menu item Insert->Image->Move with Text in the Report Designer:
When the Insert Image dialog shows, navigate to your network database folder. Click on the image you wish to embed and click open. When you save the document, a link to this path to the image is saved. When you create a report this same path is maintained.