|
Windows Vista |
  
|
|
Windows Vista |
|
In order for other computers on your network to see the ezHealthWare software database, the folder that holds the database file needs to be made visible to other network computers. This process is called "sharing" the folder. You also need to allow other users to make changes to the file (this is called giving "permissions". Before going further, make sure all computers are in the same Workgroup.
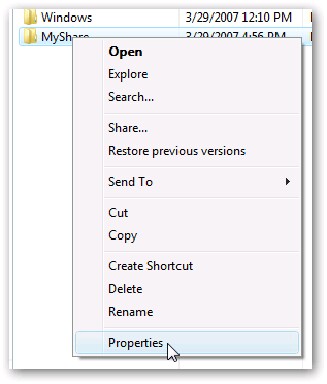
Step 1 - Open the drive that contains the ezHealthWare software database (typically "C:\ezHW_Data"). Right-click the folder, and choose the Properties option.
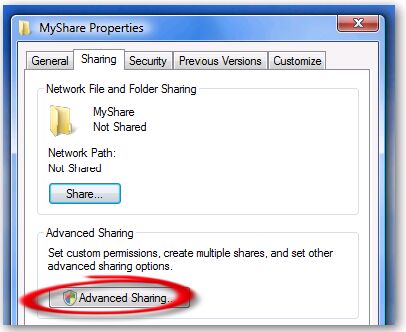
Step 2 - In the section titled "Sharing" click the "Advanced Sharing" button.
Step 3 - Check the box “Share this folder”, and choose a share name (we recommend the default "ezHW_Data".
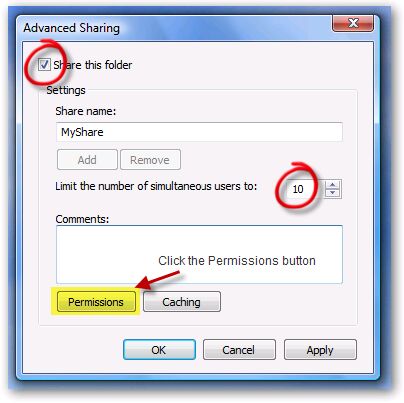
Step 4 - Change the number of simultaneous users to AT LEAST TEN (10).
Step 5 - Click on the Permissions button (shown above). The Permissions dialog will pop-up. You can add individual users or more conveniently just select "Everyone", since more than likely all your office users will want to use ezHealthWare software. Note that the software itself controls who can sign-in to the software, so you don't need to set a user password for the folder sharing.
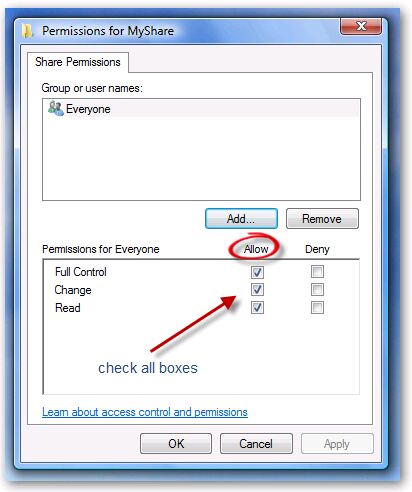
NOTE: For each user you give access (or for the "Everyone" group), you need to check Allow for each of the permissions (Full Control, Change and Read). If you fail to do this, you will not be able to make changes to the database!
Step 6 - Verify success by looking for the "Share" icon on the original folder.
